17 Cute DIY ST. Patrick’s day Nails You’ll Actually Love Wearing
Getting the perfect ST. Patrick’s day Nail designs can be stressful. Many nail ideas look stunning online. But they are often too complicated, messy, or take hours to recreate at home. It’s easy to feel disappointed when a design doesn’t turn out as expected. Sometimes it even clashes with your outfit, leaving you with plain nails on a festive day.
This guide offers a simple solution with 17 cute ST. Patrick’s day Nails that are fun, creative, and easy to do at home. Each design is beginner-friendly and requires minimal tools. They deliver a polished, festive look without the hassle of a salon appointment. By trying these ideas, you’ll get nails that are stylish, Instagram-worthy, and perfect for showing off your St. Patrick’s Day spirit.
How to Create Festive ST. Patrick’s Day Nails for Lucky March Looks?
Festive St. Patrick’s Day nails are a fun way to show your holiday spirit. You can use green shades, gold accents, and cute designs like shamrocks or rainbows. Even small touches like glitter or stickers make your coffin nails stand out.
You don’t need complicated designs to look festive. Simple techniques like dotting or decals make it easy to create fun nails at home. These ideas help your nails look stylish and ready for any March celebration.
1. Classic Green Manicure
Start with a solid green base in a shade you love, from mint to deep emerald. This simple look instantly gives your nails a festive vibe without being over the top. A glossy finish adds polish and makes the green pop, creating a clean, timeless look suitable for any occasion in March.
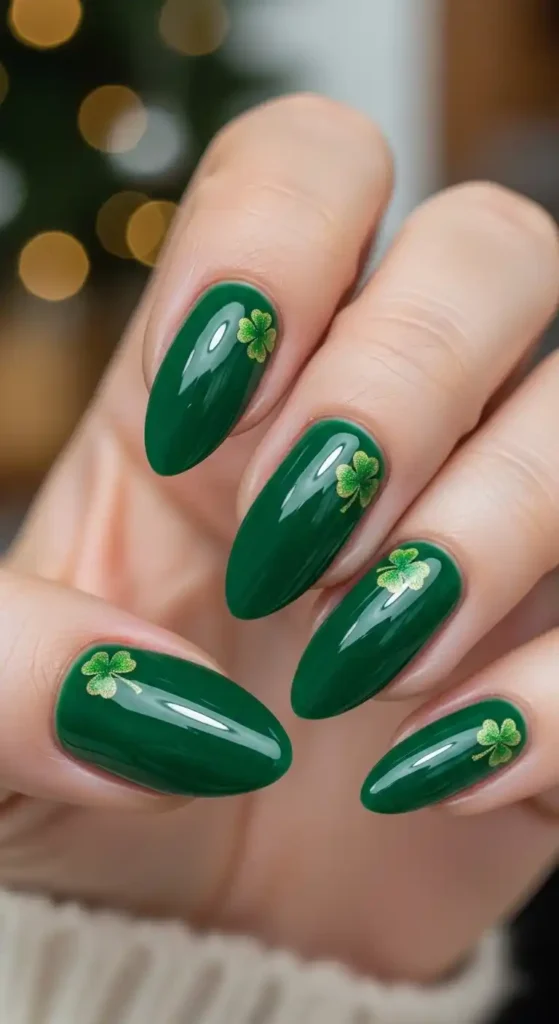
To elevate the design, add subtle gold accents like thin stripes, small dots, or even tiny triangles on one or two nails. These touches give a festive flair without overwhelming the simplicity of the manicure, making it perfect for everyday wear or special St. Patrick’s Day events.
2. Shamrock Accent Nails
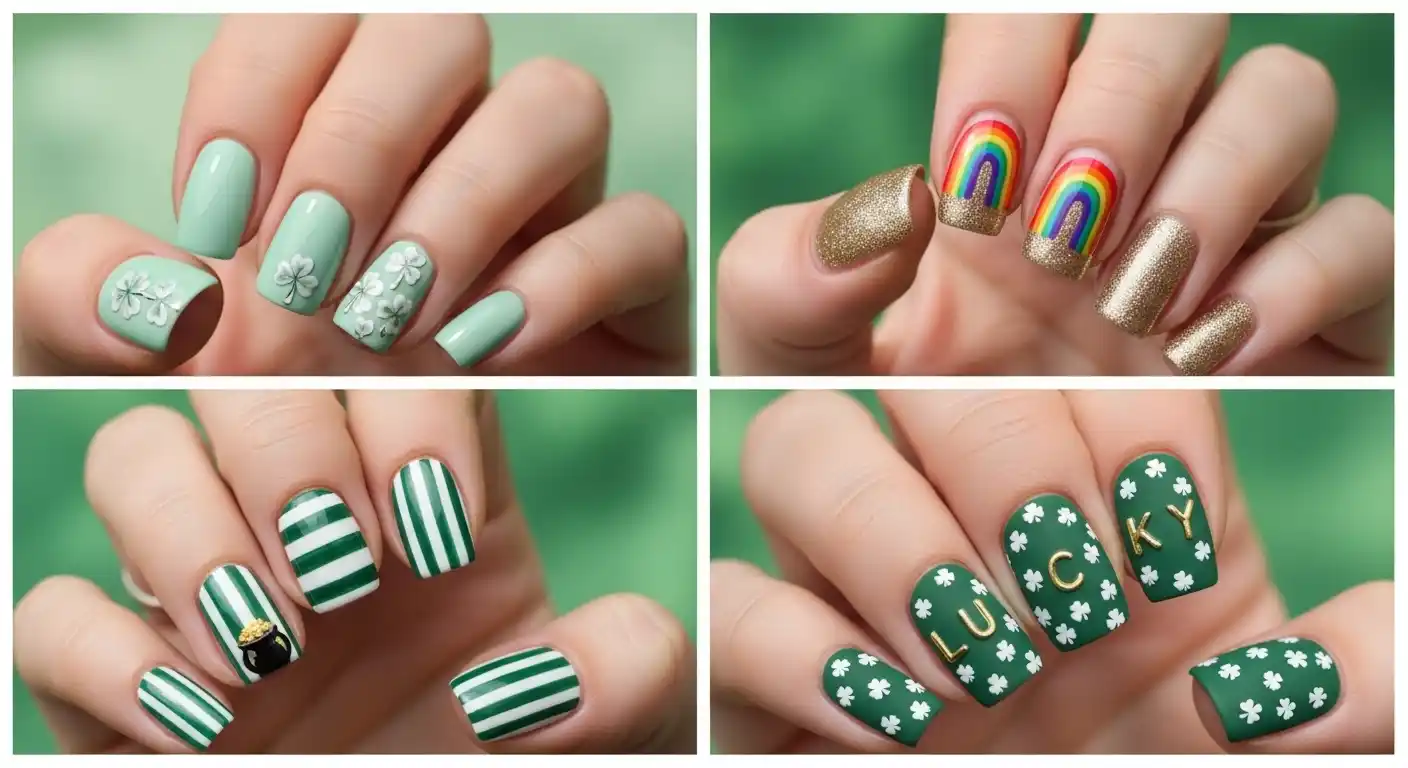
Paint all your nails a soft or bright green and place a shamrock on your ring finger using a nail art pen, sticker, or decal. The accent nail draws attention and instantly signals the holiday spirit.
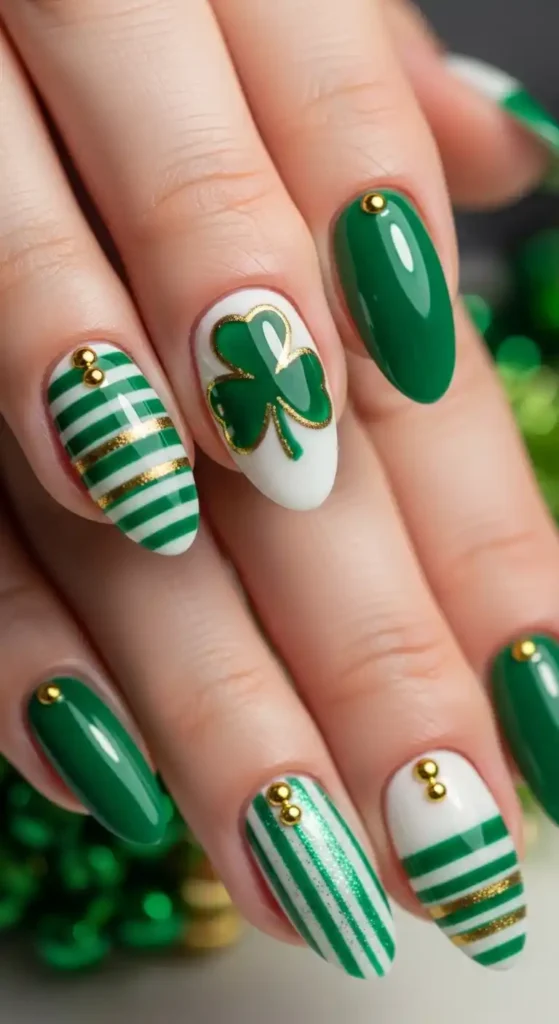
You can make the shamrock sparkle by adding a layer of glitter or metallic polish. Keeping the rest of your nails simple lets the shamrock stand out while still maintaining a polished and chic overall look.
3. Rainbow Tips
Give your nails a cheerful twist with rainbow-colored French tips for festive ST. Patrick’s day Nails. Start with a nude or pale green base and paint the tips in red, orange, yellow, green, blue, and violet stripes.
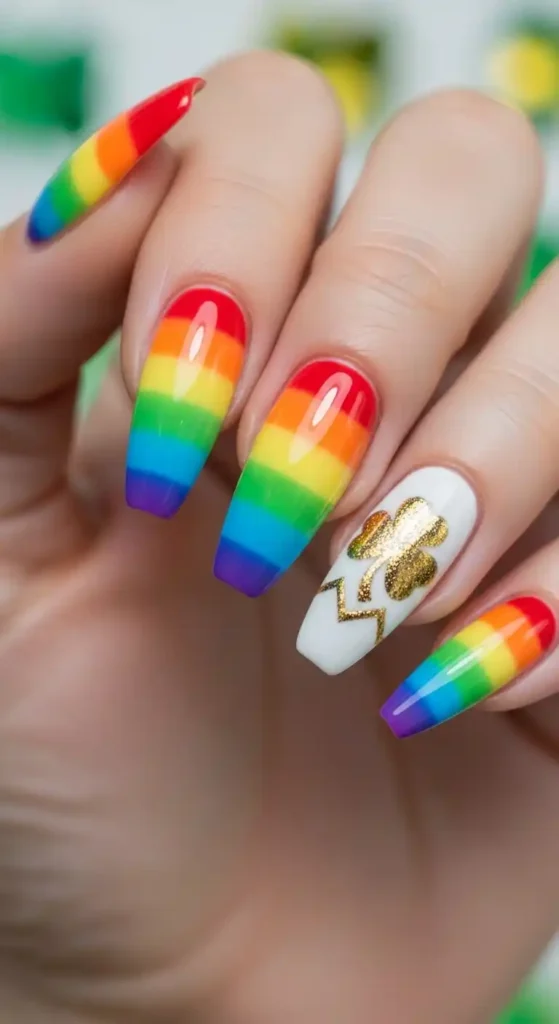
This playful design is great for festive selfies or showing holiday spirit at work or school. Adding a clear topcoat ensures the rainbow colors stay vibrant and glossy while giving your nails a professional finish without needing complex tools.
4. Glitter Gradient
Create a shimmering green-to-gold gradient for a subtle yet festive design. Start with a light green base and gently layer gold glitter from the tips toward the center of your nails for an ombre effect.
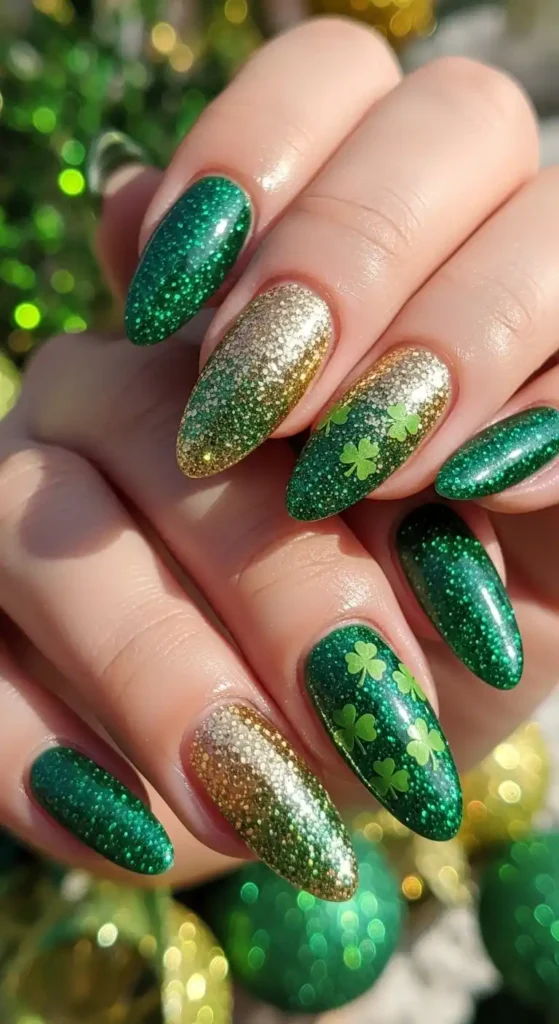
You can apply the glitter using a small sponge or brush to control coverage. This design is ideal if you want sparkle without overcomplicating your manicure and works well with both casual and party looks.
5. Tiny Gold Coins
Celebrate the festive spirit with St. Patrick’s Day Nails that hint at a leprechaun’s pot of gold. Paint most of your nails a rich green shade, then add tiny gold dots or small circle decals on one or two accent nails to represent sparkling coins.
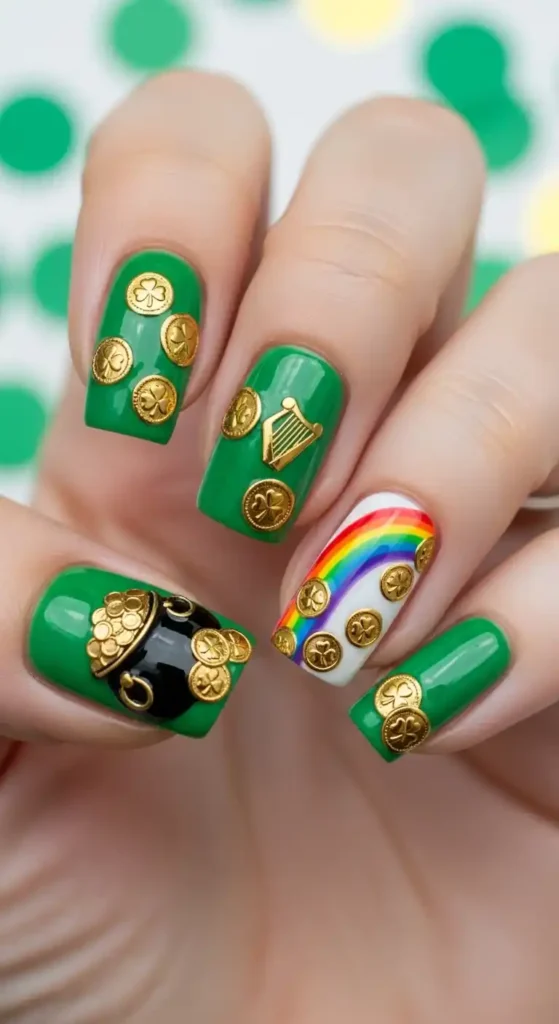
This design feels playful and festive while still looking classy. Arrange the gold dots randomly or cluster them near the base of the nail for a subtle yet eye-catching detail that adds charm without overpowering your overall look.
6. Polka Dot Fun
Polka dots are perfect for a cheerful St. Patrick’s Day manicure. Start with a green, pastel, or neutral base and add evenly spaced white or gold dots across your nails using a dotting tool or toothpick.
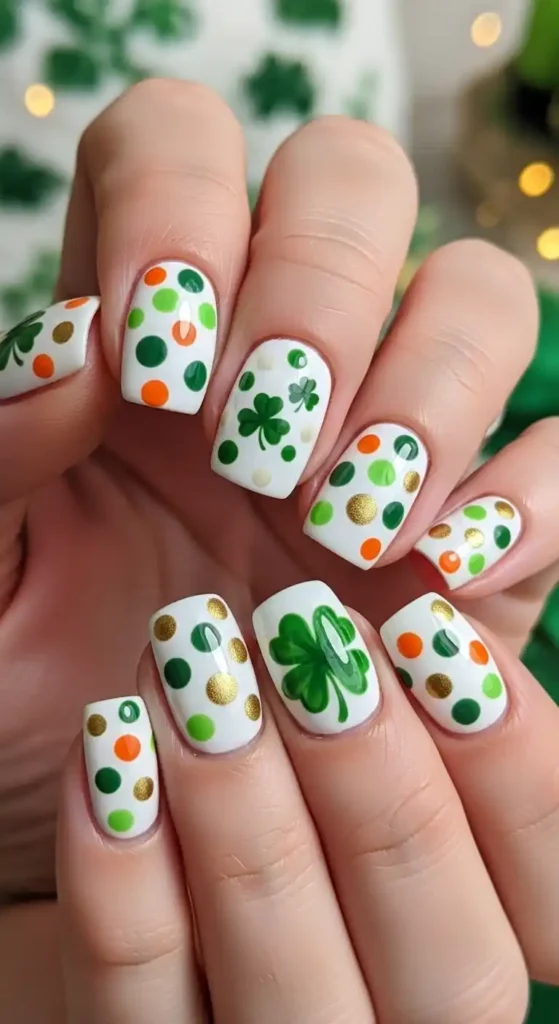
Mixing large and small dots can give a whimsical vibe while still looking polished. This is a beginner-friendly design that adds charm without requiring hours of precision work.
7. Rainbow with Clouds
Combine a rainbow and clouds for a fun, storybook-inspired design. Paint a small rainbow across an accent nail and add tiny white clouds at either end. Keep the other nails in soft green or nude to balance the look.
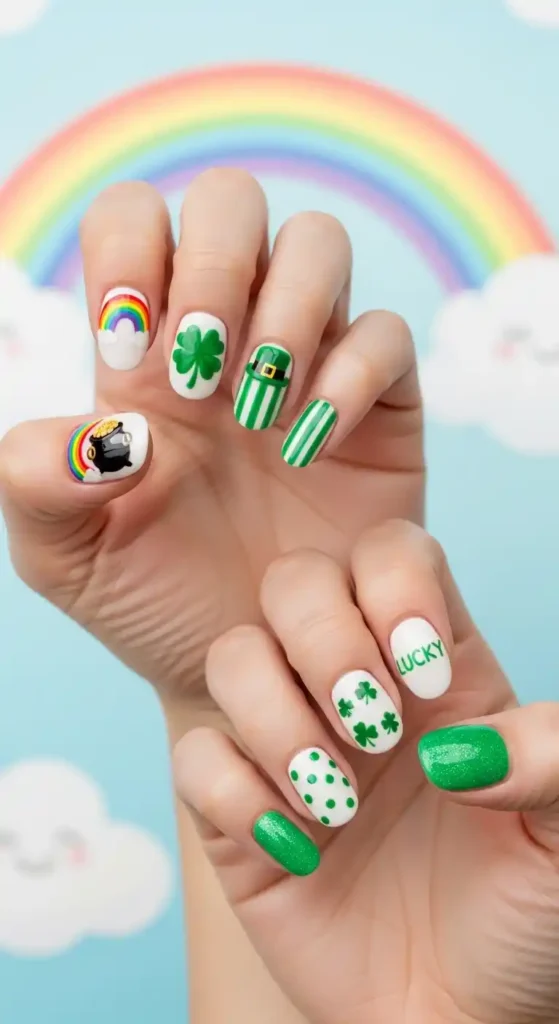
This design is playful and cheerful, perfect for showing your St. Patrick’s Day spirit. Using a nail art brush or fine-tipped pen makes it easier to create clean lines and small details without frustration.
8. Gold Foil Accents
Apply green polish as your base and add gold foil flakes to one or two accent nails. The foil reflects light beautifully, giving your manicure a luxurious and festive touch.
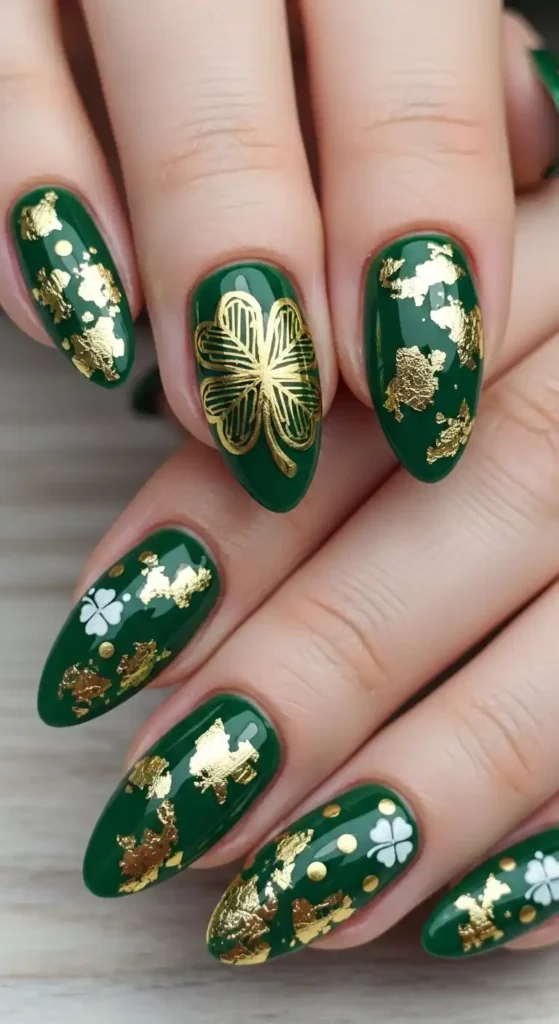
This design works well for both casual and party-ready nails. You can control how much foil you add for a subtle shimmer or a bold metallic statement, making it versatile for your style.
9. Clover Pattern Nails
Use a light green base and hand-paint small clover leaves across your nails. You can also use stickers if freehanding feels tricky. Position them randomly for a natural, playful look.
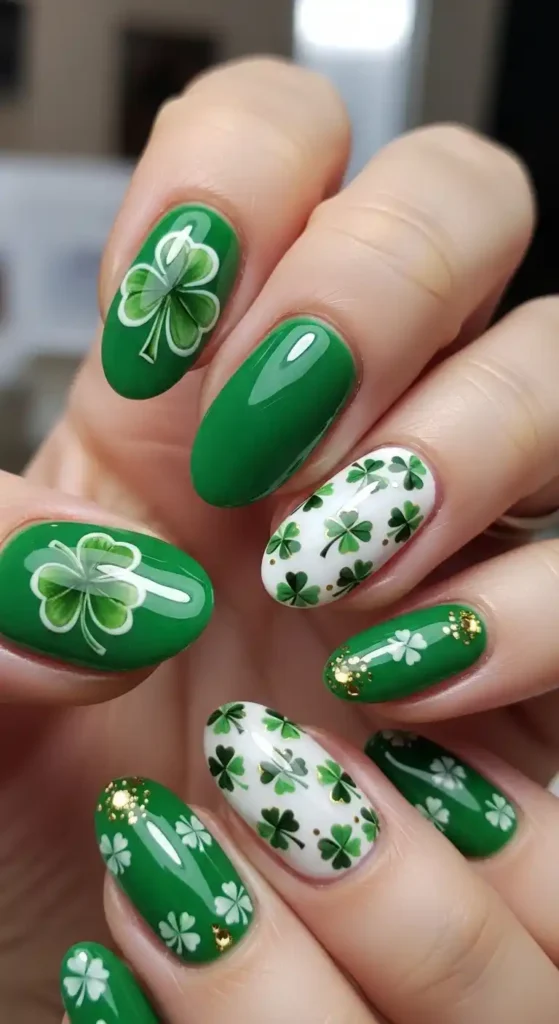
This design celebrates the holiday without being too busy. Adding a shiny topcoat enhances the clover detail and ensures your nails look neat and polished all day.
10. Green Ombre Nails
Blend two or three shades of green from light to dark on each nail for a gradient effect. Sponging the colors gently makes the transition smooth and eye-catching.
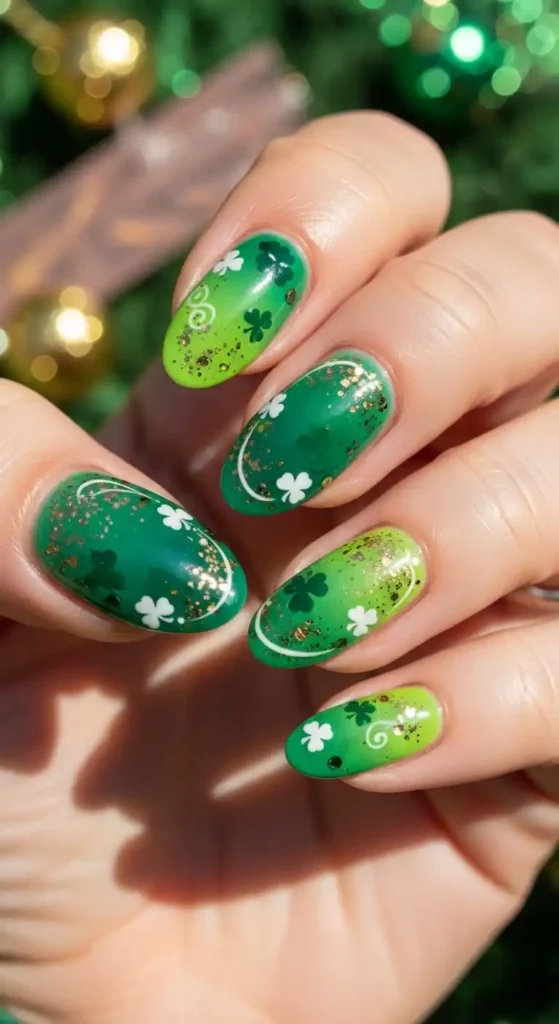
This subtle ombre adds depth and dimension to your manicure without needing intricate designs. Pairing it with a clear or gold glitter topcoat elevates the look, making it suitable for both casual and dressy occasions.
11. Rainbow Glitter Nails
Use a clear base and layer different colored glitters in rainbow order on one or two accent nails. Keep the rest of your nails green or nude for balance.
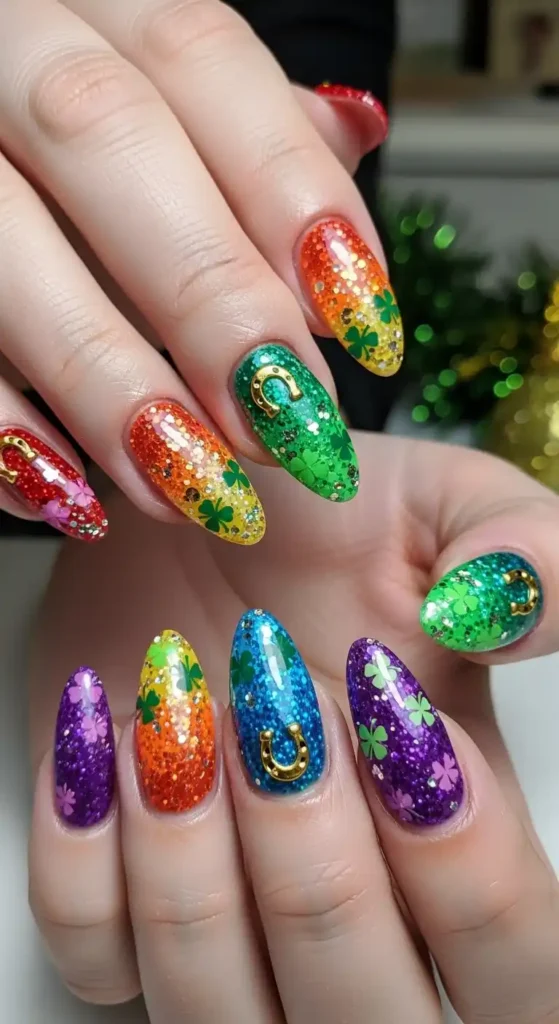
The glitter catches light beautifully and adds a fun, celebratory element to your look. This manicure is ideal if you want festive nails that feel bright, colorful, and playful without complicated painting techniques.
12. Minimalist Gold Lines
For a chic design, paint your nails green and add thin gold lines using a striping brush or nail tape. Vertical or diagonal lines create modern, stylish nails.
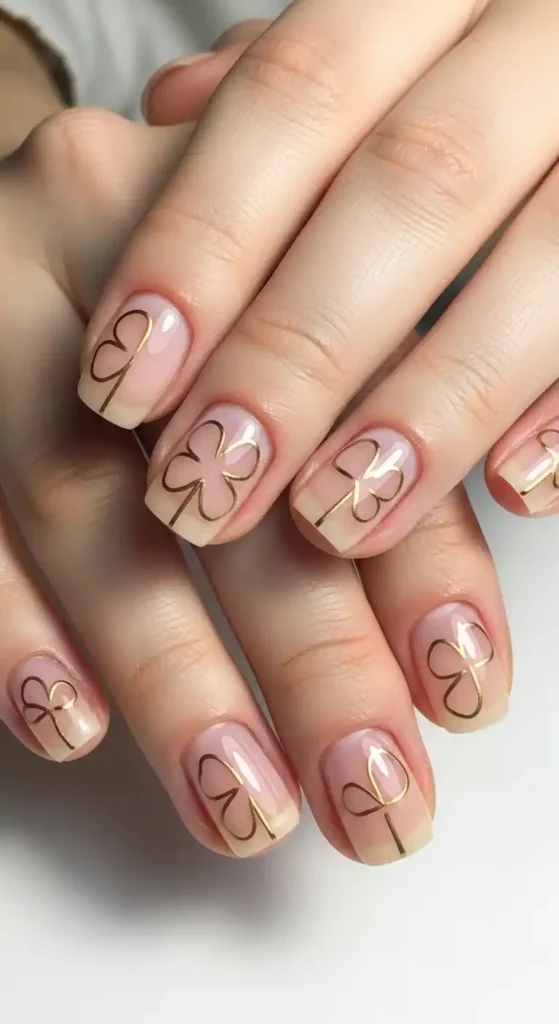
This design is understated yet elegant, perfect if you prefer a minimalist aesthetic. The metallic detail adds a festive touch while keeping your manicure sophisticated and wearable for any setting.
13. Polished Rainbow Accent
Keep most nails a solid green and choose one accent nail to paint a rainbow in bold, vibrant colors. This creates a striking contrast and highlights your festive spirit.
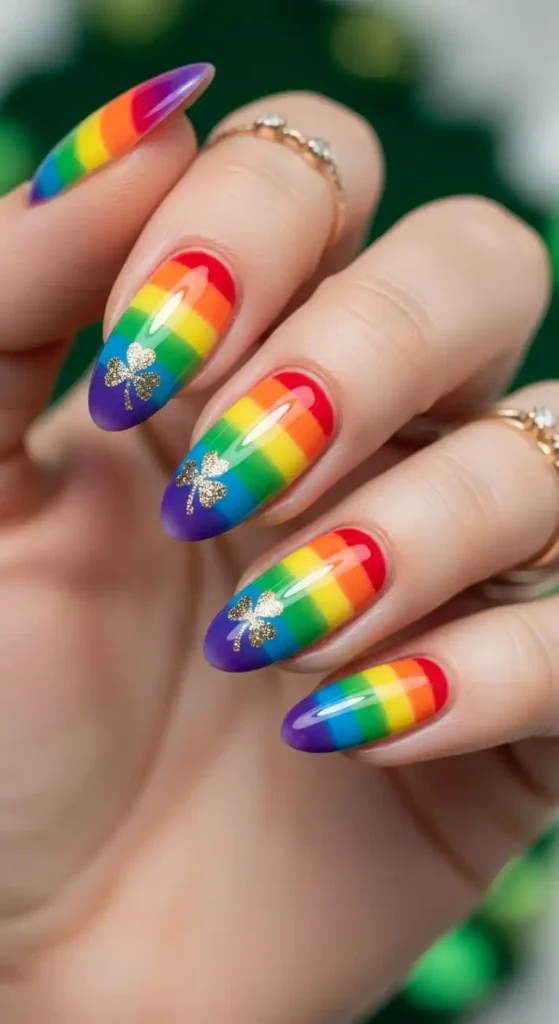
You can add a glossy topcoat to make the colors pop and last longer. It’s a simple design that still makes a big statement without needing advanced nail art skills.
14. Glitter Shamrocks
Paint your nails green and add small shamrocks using glitter polish on one or two nails. This combines sparkle and holiday motifs for a playful manicure.
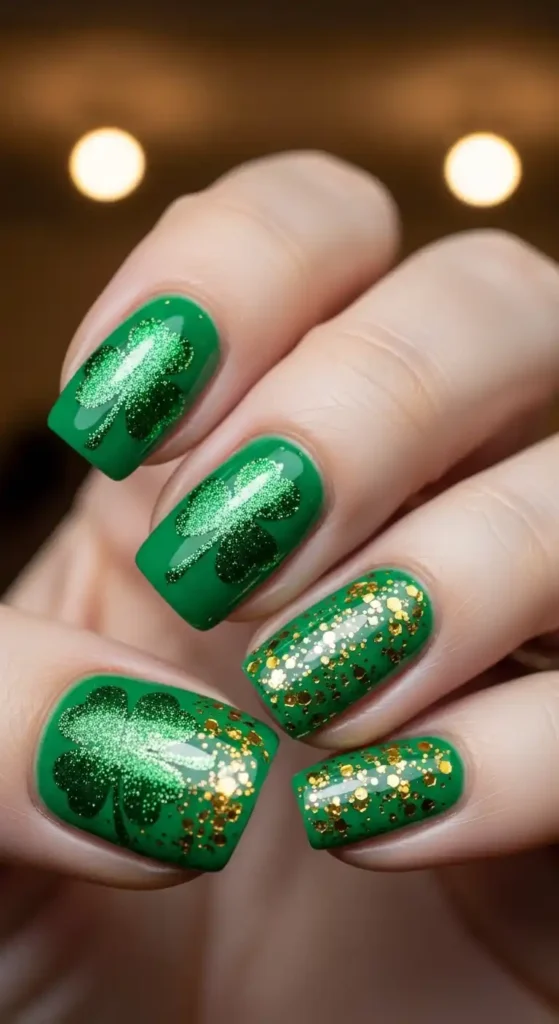
Layering the glitter over the shamrock adds dimension and shine. The result is festive nails that are easy to create and will look polished for parties or casual outings.
15. Polka Dot Rainbow
Create rainbow-colored polka dots on a light green base. Use a dotting tool or toothpick to make small, evenly spaced dots across each nail.
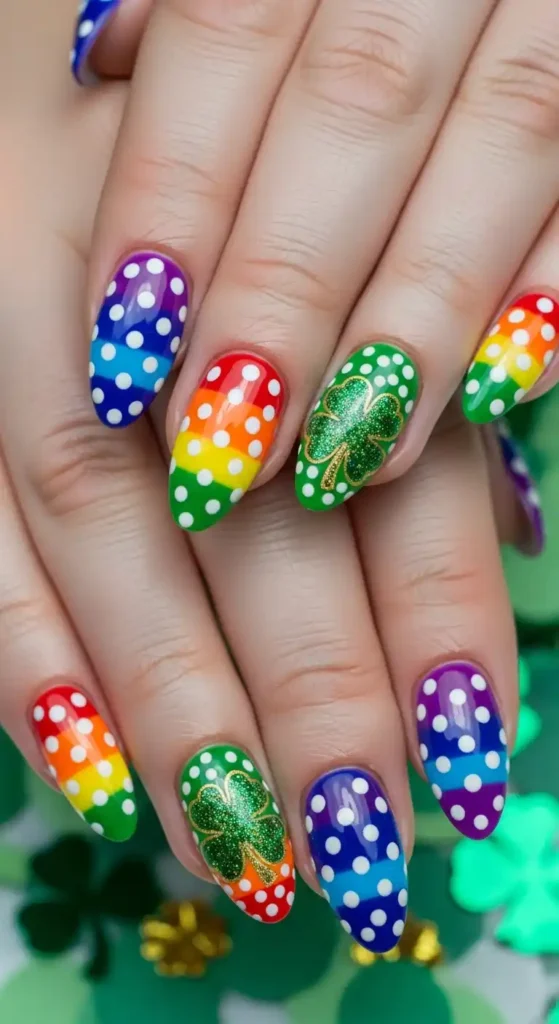
This fun design is perfect for beginners and adds a cheerful vibe to your manicure. You can mix and match dot sizes for a playful, dynamic effect that captures St. Patrick’s Day spirit.
16. Green Marble Nails
Use two shades of green to create a marble effect by swirling them together on each nail. Adding a hint of gold polish in the mix elevates the look.
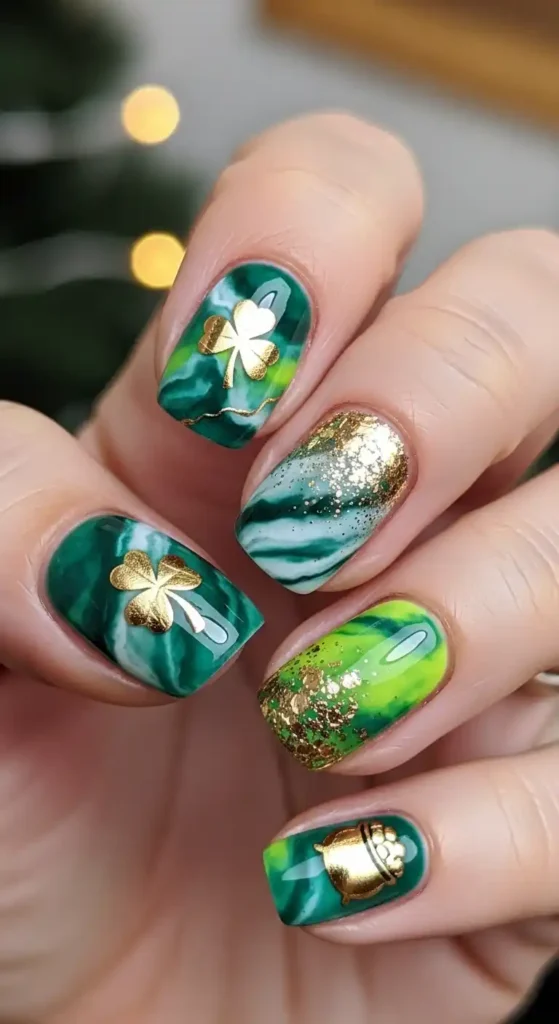
This design looks intricate but is surprisingly easy to achieve with a brush or toothpick. The marble pattern adds depth, elegance, and a festive touch to your nails without being too busy.
17. Gold Glitter Tips
For a simple yet glamorous look, paint your nails green and add gold glitter to the tips like a French manicure. This adds sparkle without covering the entire nail.
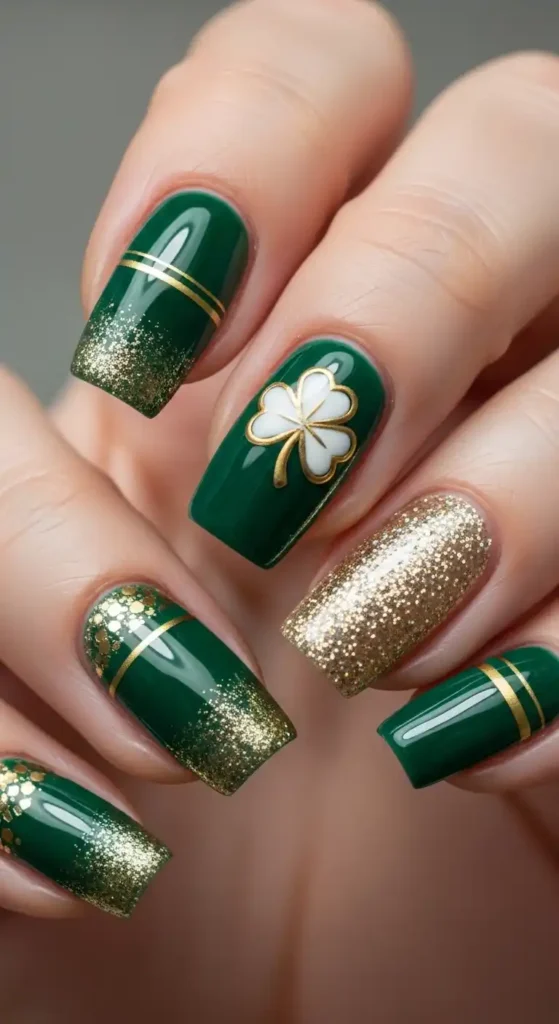
This design is understated yet festive, perfect if you want nails that feel elegant and celebratory. It works well for both casual days and special St. Patrick’s Day events, giving your manicure a polished finish.
Why Green Nails Are Perfect for March Celebrations?
Green is the iconic color of St. Patrick’s Day, symbolizing luck, renewal, and springtime. Festive ST. Patrick’s Day Nails instantly connect your look to the holiday and show your spirit without needing full outfits or accessories. The color works well on all skin tones, making it a versatile choice for any style. These shades also look stunning on Chrome Nails, adding a reflective, modern twist to traditional green designs.
Beyond tradition, green nails are playful yet sophisticated. From pastel mint shades to deep emeralds, you can create looks that feel fresh and modern. Adding small details like glitter, shamrocks, or gold accents keeps the design interesting and allows you to celebrate March in a fun and stylish way.
What Tools You Need for DIY St. Patrick’s Day Nail Art?
Creating festive nails at home is easier when you have the right tools. With just a few essentials, you can achieve professional-looking designs without spending hours or visiting a salon. Having the right tools saves time and helps your nails look neat and polished.
Essential Tools:
- Nail polish in green, gold, white, and accent colors
- Dotting tools or a toothpick for small designs
- Nail art brushes for precise lines or patterns
- Stickers, decals, or foil for easy accents
- Clear topcoat to seal and protect your design
How to Make Your St. Patrick’s Day Nails Last Longer?
St. Patrick’s Day nails are fun and festive, but chips and cracks can quickly ruin the design. With the right preparation and care, you can keep your green shades, glitter, and shamrock art looking fresh for days. Follow these simple tips to make your manicure last longer and maintain its shine.
- Start by cleaning your nails properly and removing any oil or old polish so the new color sticks better and lasts longer without lifting from the edges.
- Always apply a high-quality base coat to create a smooth surface and protect your natural nails from staining, especially when using dark green shades.
- Apply thin and even layers of polish instead of thick coats because thin layers dry faster and reduce the chances of smudging or peeling.
- Seal your design with a strong top coat to lock in color, add shine, and protect your nail art from daily wear and tear.
- Wrap the tip of your nails with both polish and top coat to prevent early chipping at the edges.
Conclusion
Creating your own festive nails can be simple, fun, and full of personality. These DIY designs allow you to express your creativity while keeping your look polished and stylish. With a few tools and some playful ideas, your manicure can become a standout part of your March celebrations.
Trying out these cute DIY ST. Patrick’s Day Nails ensures your nails feel fresh, cheerful, and ready for any occasion. From classic green shades to glittery accents, you can enjoy a festive look that lasts and brings a touch of luck to your style.